
Remote Access Raspberry Pi: Simple Guides & Tips
Are you yearning to access your Raspberry Pi from the comfort of your office, a friend's abode, or even a sun-drenched holiday retreat? The ability to remotely control your Raspberry Pi is not just a convenience; it's a gateway to a world of possibilities, offering unparalleled access and control over your projects, regardless of your physical location.
Perhaps you've mastered accessing your Raspberry Pi on your local network, but now seek a seamless solution for remote access, whether from your workplace or a friends residence. This article delves into several accessible and cost-free methods to remotely connect to your Raspberry Pi. These techniques empower you to manage your device from anywhere, extending its utility and expanding your control.
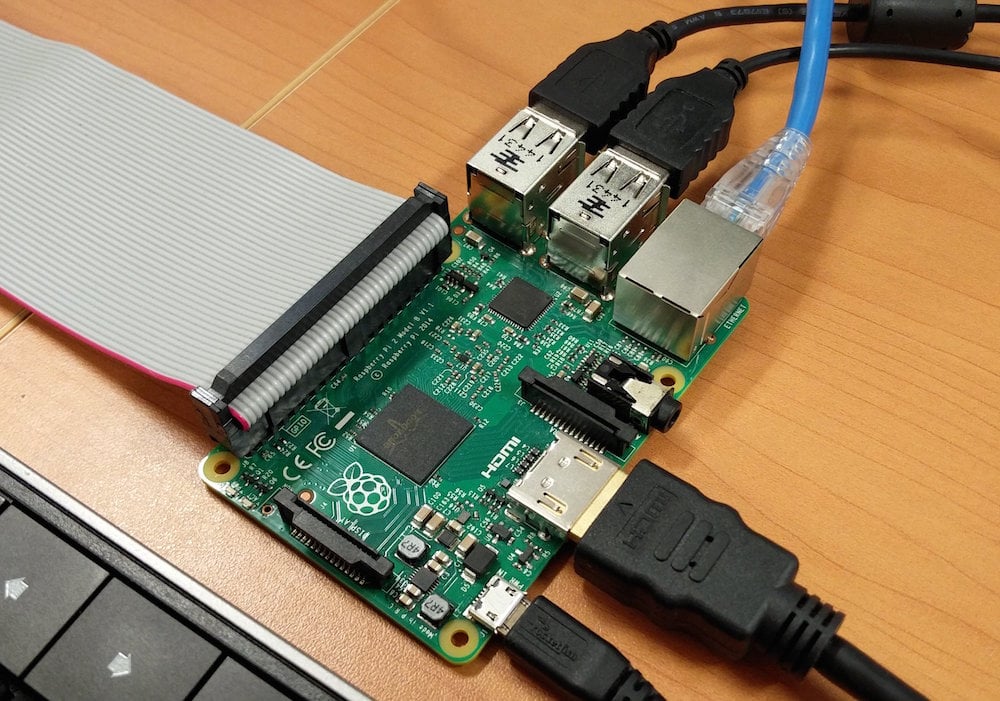
Before diving into the specifics, it's important to understand the fundamental components. The Raspberry Pi, a compact and affordable computing platform, belies its impressive capabilities. To remotely control your Raspberry Pi from any internet-connected device, you'll need to bridge the gap between your local network and the broader internet.
- Yellow Dress Rock Paper Scissors Viral Video Explained Reactions
- Nfl Hottest Players See The Hunks Of 2024
Several avenues exist to achieve remote access. Solutions like TeamViewer, VNC, or XRDP can offer direct access to your Raspberry Pi via the internet. Virtual Private Networks (VPNs) offer a secure approach by allowing you to connect your device to your home network remotely, effectively granting local network access to your Raspberry Pi from anywhere in the world. Alternatively, services such as Raspberry Pi Connect provide a free screen sharing and remote shell service.
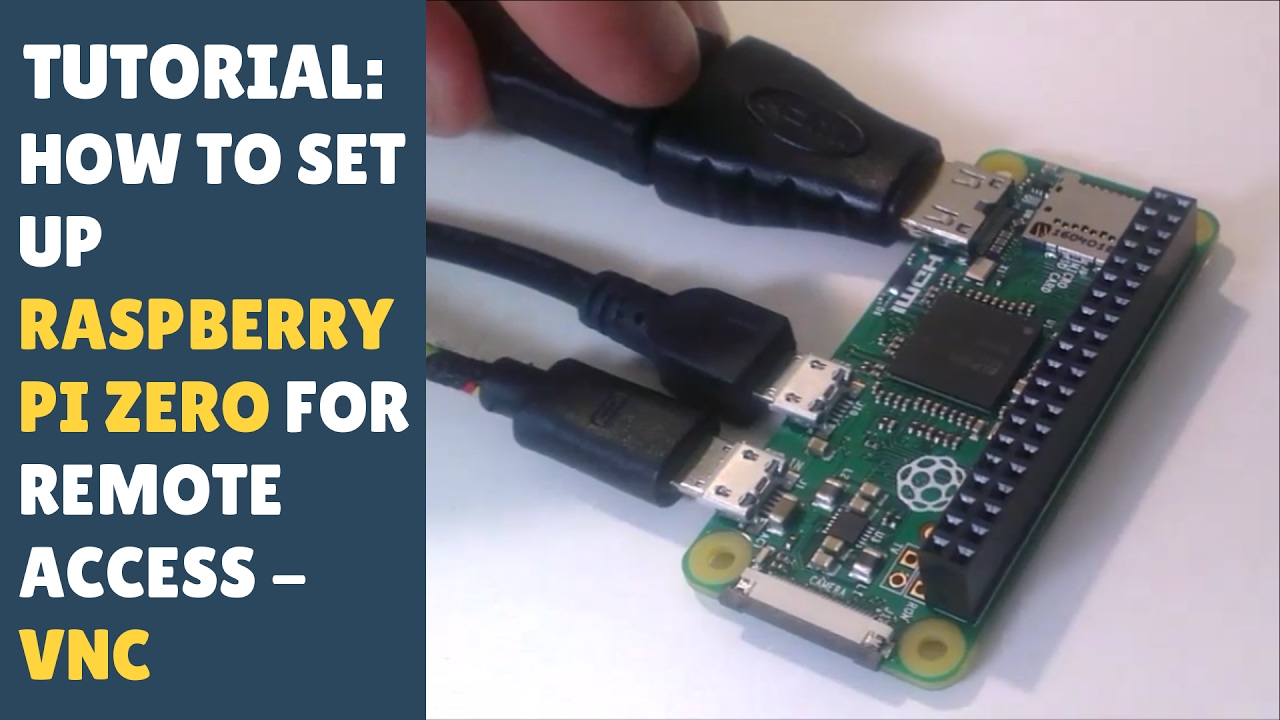
One method involves utilizing VNC Connect to remotely log into your Raspberry Pi's full operating system. VNC has long been a reliable method for remote access within the same network, and VNC Connect has expanded this capability. Another approach is to run an OpenVPN server directly on your Raspberry Pi for secure access. This article offers a comprehensive guide for setting up a network-attached storage (NAS) server with a Raspberry Pi and accessing it from outside the network.
Heres a concise breakdown to help you navigate the various methods:
- Kai Trump Date Of Birth Age Family Facts Get The Details
- Livvy Dunne Latest News Si Swimsuit Updates More
| Method | Description | Pros | Cons |
|---|---|---|---|
| VNC Connect | Remote access using VNC software | Easy to set up, good performance. | Requires port forwarding or use of a cloud service. |
| VPN (OpenVPN) | Creating a secure tunnel to your home network. | Secure, allows full network access, supports various devices. | Requires some technical knowledge to set up, may impact network speeds. |
| SSH | Secure Shell for command-line access. | Lightweight, highly secure, ideal for command-line tasks. | Command-line interface only. |
| Raspberry Pi Connect | Free screen sharing and remote shell service from Raspberry Pi | Simple, provided by Raspberry Pi | Relies on Raspberry Pi's service, may have limitations. |
| SocketXP | Accessing raspberrypi without hacking settings in wifi router. | Easy setup, user friendly. | Require third party service. |
| Tailscale | Uses a mesh VPN for secure and easy access. | Simple to set up and configure, very secure. | Requires an account and some initial configuration |
To connect to your Raspberry Pi from outside your local network, you'll need to address a few key elements, including port forwarding. This involves configuring your router to direct incoming traffic on specific ports to your Raspberry Pi. Access your router's admin panel by entering its IP address in a browser and locate the "Port Forwarding" section. This is the cornerstone of external network access.
Before establishing a remote connection, you must prepare your Raspberry Pi. This entails, at a minimum, ensuring your Raspberry Pi has a static IP address on your local network. You can accomplish this by either setting a static IP within the Raspberry Pi's network configuration, or by configuring your router to assign the same IP address to your Raspberry Pi based on its MAC address. Furthermore, it's crucial to change the default password for the 'pi' user account to a strong, unique password.
For those new to Raspberry Pi, the initial steps can seem daunting. Defining a static IP for your Raspberry Pi and using a tool like PuTTY to connect via a specific port when connected to the local network is a common starting point. However, the challenge arises when your PC connects to a different network.
One of the most common barriers is the router. Many routers are not configured to allow external access. For instance, if you are behind a router and attempt to access your Raspberry Pi at home from work, you will likely encounter difficulties because your router doesn't know to forward external requests to the Raspberry Pi. The solutions, therefore, often involve configuring your router to facilitate remote access.
For many setups, port forwarding is essential. A common scenario involves accessing your Raspberry Pi via SSH (Secure Shell). If you want to SSH into your Raspberry Pi from anywhere, you will need to configure your router to forward incoming traffic on port 22 (the default SSH port) to the internal IP address of your Raspberry Pi. Detailed examples and instructions for these functionalities can often be found in the documentation of your specific router model.
The Raspberry Pi's design allows it to be incredibly adaptable. To access your Raspberry Pi remotely, many users turn to SSH. It is a secure way to connect to your device from anywhere in the world, making it critical for IoT (Internet of Things) projects. You can remotely control your Raspberry Pi from any device connected to the Internet by exposing SSH over the open Internet, within a VPN, or using an external service. To enable SSH, you can typically use a command like "sudo raspi-config" to configure the settings. Then, you would use an SSH client, such as PuTTY or the terminal on Linux and macOS, to connect. In this setup, you will need the public IP address of your home network, along with your Raspberry Pi's username and password.
Additionally, the article touches on the advantages of using a Virtual Private Network (VPN). VPNs create a secure, encrypted connection over the internet, allowing you to connect to your home network as if you were physically present. This means you gain access to your Raspberry Pi and other devices on your local network securely. A common method is using an OpenVPN server on your home router if it supports it. Otherwise, you can run an OpenVPN server directly on your Pi for secure access.
For beginners, getting started with remote access can be challenging. Ensure that the Raspberry Pi has a static IP address, and that the router's configuration matches the desired settings. When you are remote and away from your LAN, consider how your access method will change. Will it be via SSH, VNC, or some other mechanism? Some services, like SocketXP, offer a simple, secure, and easy way to access your home Raspberry Pi from outside the network, without needing to modify settings on your router.
Implementing proper security measures is paramount when setting up remote access. This starts with changing the default password for the 'pi' user account to a strong, unique password containing a mix of letters, numbers, and special characters. Always keep your software updated, including the Raspberry Pi OS and any remote access software. Consider enabling two-factor authentication (2FA) where available. For SSH, consider changing the default port to a less common port. Regularly back up your Raspberry Pi's data to protect against data loss.
To enable USB boot mode, set a bit in the OTP (one-time programmable) memory in the Raspberry Pi SoC. This is a technical requirement for some Raspberry Pi models, such as the Pi 3 Model B, before network booting. With Tailscale, once your Pi is connected to your tailnet, you can access it remotely using its Tailscale IP address. Once you have authenticated with your Tailscale account, your Raspberry Pi will be connected to your tailnet. Open the URL generated by Tailscale in your browser to log in with your account.
Ultimately, remote access to your Raspberry Pi offers a versatile platform for all your computing needs. The methods described above provide a starting point for remotely managing your device. As you progress, you may want to explore more advanced setups, such as setting up a NAS server with a Raspberry Pi and accessing it from outside the network.
Article Recommendations
- Bhad Bhabies Hottest Content Videos Leaks Mustsee
- Carly Jane Onlyfans Leak A Critical Look At Privacy Content Risks

Detail Author:
- Name : Nels Schinner III
- Username : lamar.kertzmann
- Email : darius62@ledner.com
- Birthdate : 1972-10-26
- Address : 597 Ebert Inlet Apt. 567 East Beverlyside, ND 04737
- Phone : 1-703-602-3902
- Company : Koelpin, Roberts and Kunze
- Job : Airline Pilot OR Copilot OR Flight Engineer
- Bio : Beatae qui aliquam consectetur aut. Nisi aliquam quae quia. Sunt corporis consectetur magni sapiente atque. Magnam quis laboriosam a laborum.
Socials
twitter:
- url : https://twitter.com/eldredconn
- username : eldredconn
- bio : Dolorum laboriosam et vel tempore recusandae fugiat. Reiciendis labore numquam molestias fugiat ex. Asperiores quisquam rerum quia incidunt.
- followers : 104
- following : 960
tiktok:
- url : https://tiktok.com/@eldred9948
- username : eldred9948
- bio : Autem maiores perferendis aliquid quibusdam non maiores quis.
- followers : 2045
- following : 1803
instagram:
- url : https://instagram.com/eldred_conn
- username : eldred_conn
- bio : Aspernatur accusantium quis consequatur. Voluptatum laborum doloribus qui earum sint doloribus ut.
- followers : 5699
- following : 2884
linkedin:
- url : https://linkedin.com/in/eldred_dev
- username : eldred_dev
- bio : Id temporibus animi a ut sapiente quis.
- followers : 1169
- following : 1326
facebook:
- url : https://facebook.com/conne
- username : conne
- bio : Quia molestias qui necessitatibus at expedita non maxime reprehenderit.
- followers : 5558
- following : 1800
