
SSH Into Raspberry Pi: Remote Access Guide (2024)
Are you tired of being tethered to your local network, unable to access your Raspberry Pi from the outside world? Gaining secure, remote access to your Raspberry Pi is not just possible, but remarkably straightforward, unlocking a world of possibilities for your projects and smart home endeavors.
The allure of remote access to a Raspberry Pi is undeniable, especially for those venturing into the realms of the Internet of Things (IoT). Imagine the ability to monitor and control your home automation system, access files, or even troubleshoot issues from anywhere in the world. The benefits are clear: enhanced convenience, increased flexibility, and the power to manage your digital life from the palm of your hand.
The primary goal is to establish a secure connection. The core concept revolves around utilizing the Secure Shell protocol (SSH), a robust and encrypted network protocol. It allows you to establish a secure connection to your Raspberry Pi from any other device. By default, Raspberry Pi OS (formerly Raspbian) comes equipped with an OpenSSH server, a testament to its inherent capability for remote access.
- Carly Jane Onlyfans Leak A Critical Look At Privacy Content Risks
- Aaron Lewiss Zoe Jane Discover Her Story Songs Plus
However, the path to remote SSH access is not always immediately clear. The process involves several key steps, each crucial for ensuring a successful and secure connection. While the core functionality of SSH is pre-installed, you will need to enable it within your Raspberry Pi's operating system. Moreover, you'll need to navigate the complexities of network configuration, which is often the hurdle that many encounter.
One of the most common issues stems from the dynamic nature of IP addresses. Most home internet connections utilize a dynamic IP address, meaning the public IP address assigned by your Internet Service Provider (ISP) can change periodically, typically upon reconnection or within a 24-hour cycle. This makes it difficult to reliably connect to your Raspberry Pi, as the address you used yesterday might be obsolete today.
The other is setting up Port Forwarding on your router, the procedure that determines how data traffic gets routed across the network. This requires configuring your router to direct incoming traffic on a specific port (typically port 22 for SSH) to the internal IP address of your Raspberry Pi. However, the exact settings vary based on the model and manufacturer of your router.
- Antm Cycle 11 Contestants Winners Drama Explored Get The Scoop
- Exploring Cailee Spaeny Nude Scenes Search Insights
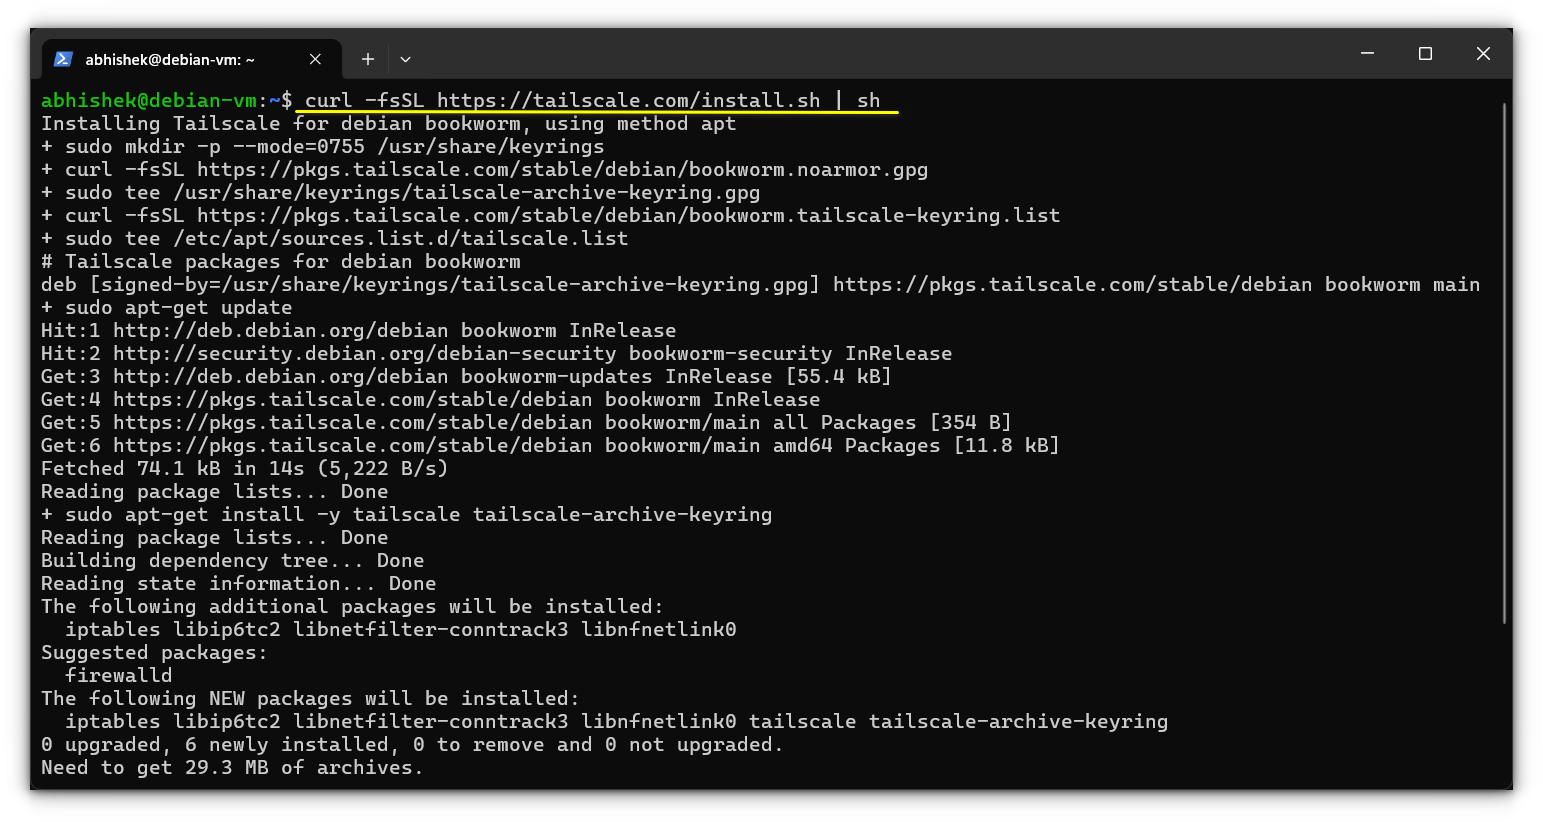
Several alternatives have emerged to circumvent these complexities, each with its own set of trade-offs. One of the simplest is SocketXP, which streamlines the process by eliminating the need for router configuration. It works, essentially, "out of the box." Another notable option involves using a Virtual Private Network (VPN) like Tailscale. VPNs create an encrypted tunnel between your Raspberry Pi and your other devices, allowing you to access your Pi as if it were on the same local network. Dynamic DNS services are also handy, as they give a stable domain name to your changing IP address.
For the purpose of securing the connection it is essential to change the default password for the "pi" user is a critical step. This prevents unauthorized access. Regularly updating your Raspberry Pi's operating system is a proactive measure to patch security vulnerabilities.
In essence, remote access to your Raspberry Pi represents a fundamental aspect of its utility. By grasping the core principles of SSH, static IP addresses, and, when appropriate, dynamic DNS services or VPNs, you will be able to unlock the full potential of your Raspberry Pi, making it an accessible and indispensable tool.
The world of remote access to your Raspberry Pi is one filled with opportunity. Whether you are working on a personal project, building a smart home hub, or simply seeking the convenience of remote management, the tools and techniques outlined here will pave the way for a secure, reliable, and user-friendly experience. The ability to remotely connect to your Raspberry Pi is essential in today's connected world, where control and accessibility are paramount.
There are several methods to configure your network for remote access, but the fundamental steps remain consistent. Here's a breakdown:
Enable SSH on your Raspberry Pi: Access your Raspberry Pi's terminal, and enable SSH by navigating to the 'interfacing options' within the configuration menu, which can often be accessed using the `raspi-config` command.
Configure a Static IP Address: Assigning a static IP address to your Raspberry Pi is highly recommended. This ensures its address doesn't change, streamlining the connection process. You can configure this within the network settings of your Raspberry Pi's operating system or, alternatively, by configuring your router to reserve a specific IP address for your Raspberry Pi's MAC address.
Port Forwarding on Your Router: This is crucial. You must configure your router to forward traffic from a specific port (usually port 22 for SSH) to your Raspberry Pi's internal IP address and port 22.
Identify Your Public IP Address: To connect from outside your network, you will need your public IP address assigned by your ISP. Several websites can easily tell you this information. Use this to make a connection.
The use of SSH for accessing your Raspberry Pi from remote locations is, in theory, fairly straightforward. The challenges often arise when the external IP address of your router changes due to factors like a power outage, a router reset, or an automatic renewal by your ISP. The solutions exist, however, and often require some preparation and adaptation.
For instance, the initial setup includes enabling the SSH service, which can be done through the Raspberry Pi's terminal by navigating to 'interfacing options' and selecting SSH. After this setting is complete, you can easily SSH into your home network from outside. One crucial piece of information is your router's public IP address, which can change, requiring you to update the settings periodically.
One can also utilize services such as SocketXP or a VPN to bypass the more complicated network setup. The application of these tools can greatly simplify remote access by handling the complexities of router configuration.
Security is paramount. It is recommended to change the default password of the "pi" user immediately. Regularly updating the Raspberry Pi's operating system to patch security vulnerabilities is also crucial.
The following are the key steps to enable SSH:
Enable SSH on Raspberry Pi: Activate SSH in Raspberry Pi OS, which can be done through the configuration menu.
Determine Your Public IP Address: You can use various online services to determine your public IP address.
Port Forwarding: Configure your router to forward traffic on port 22 (or your chosen port) to the Raspberry Pi's internal IP address.
Connect from Outside Your Network: Use an SSH client (e.g., PuTTY) and your public IP address and port to connect.
If you're new to the server community or even a Linux user, the initial setup can be overwhelming. However, with a static IP set for the Raspberry Pi and with port forwarding configured on your router. It also highlights the significance of security measures, like password changes, regular updates, and the strategic use of firewalls.
In any event, for remote access to your Raspberry Pi, setting up a static IP and enabling remote SSH access maximizes its utility and enables you to securely manage it from any location. Implementing these steps is essential, especially in IoT contexts, for anywhere-in-the-world device management. One of the key aspect is port forwarding configuration on your router.
For users with a Linksys WAG200G router, they should configure their router to forward the Raspberry Pi's static IP on port 22. A simple search of what's my IP?
For the more technically inclined, the command '\/ngrok tcp 22' can enable remote access using the PuTTY terminal. The use of public/private keys is another secure method for connecting via SSH.
Furthermore, SSH is a secure network protocol, and the process of utilizing it involves several steps including enabling the SSH service, setting up port forwarding on your router, and configuring the Raspberry Pi with a static IP address.
In addition to basic SSH configuration, consider these security best practices:
- Strong Passwords: Always use a strong, unique password for your Raspberry Pi user account.
- Key-Based Authentication: Disable password authentication and use SSH keys for a more secure login.
- Firewall: Implement a firewall (like UFW) to restrict access to only the necessary ports.
- Regular Updates: Keep your Raspberry Pi's operating system and installed software updated with the latest security patches.
The journey to secure remote access to your Raspberry Pi is a rewarding one. By taking the time to understand the underlying principles and applying the proper configuration, you can unlock a new level of control and convenience, making your projects and smart home setups truly accessible from anywhere in the world.
Article Recommendations
- Fess Parker How Many Times Was The Davy Crockett Star Married
- Discover Iconic Blondes In Hollywood Beyond A Deep Dive


Detail Author:
- Name : Gabriella Kerluke
- Username : pondricka
- Email : shaina55@barton.com
- Birthdate : 1995-12-08
- Address : 80718 Kane Land Lake Alvera, TN 39981-7167
- Phone : 1-985-747-2100
- Company : Fadel PLC
- Job : Sales Representative
- Bio : Esse maiores qui ea labore dicta. Cumque et iure inventore velit aspernatur ab quo iste. Sit consequatur consectetur autem cupiditate ducimus.
Socials
linkedin:
- url : https://linkedin.com/in/levibauch
- username : levibauch
- bio : Iusto voluptas beatae ad odit nihil qui.
- followers : 2951
- following : 1255
twitter:
- url : https://twitter.com/bauch2001
- username : bauch2001
- bio : Aspernatur iure est id enim nostrum sequi. Dolor quis illo dicta eligendi aperiam eveniet sit voluptatem. Sit non harum dolores dolorem.
- followers : 2389
- following : 1540
tiktok:
- url : https://tiktok.com/@levi.bauch
- username : levi.bauch
- bio : Aspernatur dolorum ut rem deserunt commodi.
- followers : 4416
- following : 906
instagram:
- url : https://instagram.com/bauch2009
- username : bauch2009
- bio : Autem id autem similique adipisci. Vero et voluptatibus id illo.
- followers : 2702
- following : 623
facebook:
- url : https://facebook.com/levibauch
- username : levibauch
- bio : Et quisquam molestias quisquam nostrum velit dignissimos sint.
- followers : 5851
- following : 2396
