
Access Raspberry Pi Remotely: VNC Without Port Forwarding
Is it possible to control your Raspberry Pi's desktop from anywhere in the world, without the hassle of complex configurations? The answer is a resounding yes, and the solution lies in harnessing the power of Virtual Network Computing (VNC) and the cloud.
The ability to remotely access and control a Raspberry Pi, a versatile and compact single-board computer, has become increasingly valuable in today's interconnected world. Whether you're a seasoned tech enthusiast, a hobbyist, or a professional, the capability to manage your Pi from a distance opens up a realm of possibilities. Imagine being able to troubleshoot issues, monitor projects, or simply access your desktop environment, all without being physically present. While traditional methods often involve port forwarding and intricate network configurations, there's a more streamlined and user-friendly approach available. VNC, particularly the cloud-based offerings, simplifies the process, making remote access a breeze. This article delves into the intricacies of setting up remote access to your Raspberry Pi, exploring various methods and offering practical guidance.
Key Technologies and Concepts
Before diving into the practical steps, let's clarify some of the core technologies and concepts involved. Understanding these will provide a solid foundation for a successful setup.
- Dwayne The Rock Johnsons Parents Wrestling Lineage Heritage
- Caitlin Clarks Parents Are Anne Brent Still Together
- VNC (Virtual Network Computing): VNC is a graphical desktop sharing system that allows you to remotely control another computer. It works by transmitting keyboard and mouse input from your local machine to the remote machine, while also displaying the remote machine's screen on your local machine.
- VNC Server: The VNC server runs on the Raspberry Pi (the machine you want to control). It listens for incoming connections from VNC clients and facilitates the sharing of the desktop environment.
- VNC Client: The VNC client runs on your local machine (the machine you're using to control the Raspberry Pi). It connects to the VNC server and allows you to interact with the remote desktop.
- Port Forwarding: This involves configuring your router to forward network traffic from a specific port on the router to a specific IP address and port on your local network. This is often necessary for accessing a device from outside your local network.
- Cloud VNC: Cloud-based VNC services, like RealVNC Connect, provide a secure and simplified way to connect to your Raspberry Pi without the need for port forwarding. They act as an intermediary, relaying the connection between your client and the Pi.
- SSH (Secure Shell): SSH is a secure protocol for accessing a computer over an unsecured network. While primarily used for terminal access, it can also be used for port forwarding, creating secure tunnels for other applications like VNC.
The Raspberry Pi and Its Capabilities
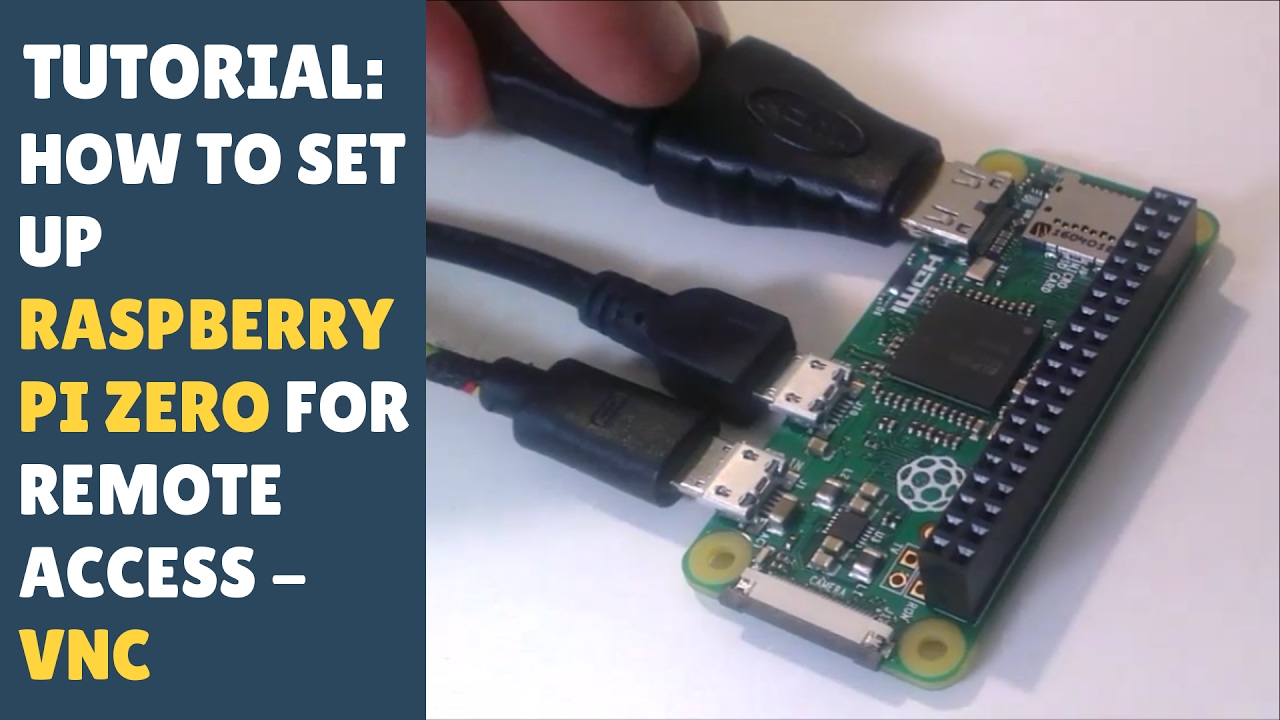
The Raspberry Pi, a credit-card-sized computer, has revolutionized the tech world. Its versatility stems from its affordability, compact size, and open-source nature. It can be used for various projects, from simple home automation to complex server setups. The ability to remotely access and control a Raspberry Pi significantly enhances its functionality.
The foundation for remote access lies in the Raspberry Pi's operating system, typically a Debian-based distribution like Raspberry Pi OS (formerly Raspbian). This OS provides a user-friendly environment and supports various network protocols, making remote access relatively straightforward. The Raspberry Pi's hardware, while not as powerful as a desktop computer, is sufficient for many remote access applications.
Now, let's explore the different methods to establish remote access, starting with the most convenient option.
Method 1
Cloud VNC services, such as RealVNC Connect, are the most straightforward and user-friendly option for remote access. They eliminate the complexities of port forwarding and offer a secure connection.
- Create an Account: Sign up for a free account on the RealVNC Connect website or a similar service. This account will serve as your central hub for managing your devices.
- Install VNC Server on the Raspberry Pi: If you haven't already, install the VNC server software on your Raspberry Pi. RealVNC provides its own server, designed for easy cloud connectivity. You can install it using the Raspberry Pi's terminal.
- Log in to VNC: After setting up VNC, log in using the icon at the top right of the screen
- Connect from a Client: On your local computer or mobile device, download and install the corresponding VNC client software (available from the RealVNC website or app stores). Log in to your RealVNC account, and you should see your Raspberry Pi listed as a device. Click on it to initiate the remote connection.
- Enjoy Remote Access: Once connected, you'll see your Raspberry Pi's desktop environment on your local screen. You can then interact with it as if you were sitting in front of the Pi.
This method is highly recommended for its simplicity, security, and ease of use. It is especially suitable for users who are new to remote access or prefer a hassle-free setup.
Method 2
SSH tunneling provides a secure and versatile way to forward network traffic. While slightly more complex than cloud VNC, it offers greater control and flexibility.
- Enable SSH on Your Raspberry Pi: This is usually enabled by default in current versions of the Raspberry Pi OS. If not, you can enable it in the Raspberry Pi configuration tool or by using the command `sudo raspi-config`.
- Install a VNC Server: Install a VNC server, such as TightVNC server, on your Raspberry Pi using the following commands:
`sudo apt update`
`sudo apt install tightvncserver` - Set Up the VNC Password: Run `vncserver` in the terminal to set up the VNC password. You will be prompted to create a password.
- Create an SSH Tunnel: Open a terminal on your local computer (e.g., your Mac or a Linux machine) and use the following command:
`ssh -L 5900:localhost:5901 [email protected] [your_raspberry_pi_ip]`
Replace `[your_raspberry_pi_ip]` with the IP address of your Raspberry Pi. The `-L` option creates a local port forwarding, which means the traffic will go through a secured tunnel
- Connect with a VNC Client: Open your VNC client and connect to `localhost:5900`. You will be prompted to enter the VNC password you created earlier. The SSH tunnel will forward the traffic securely.
SSH tunneling provides an extra layer of security and can be useful when cloud VNC is not an option. This method requires a bit more technical expertise but provides more control over the connection.
Method 3
Port forwarding is the traditional method for remote access and requires configuring your router to forward traffic. This method has the disadvantage of exposing your Raspberry Pi to the internet, making it less secure than cloud VNC or SSH tunneling. This said, if a static IP address is configured for your Pi, it is a very reliable method. The steps are:
- Assign a Static IP Address: Configure a static IP address for your Raspberry Pi in your router's settings or directly on the Raspberry Pi itself. This ensures the IP address remains constant.
- Port Forwarding: Open your router's configuration page (usually by typing its IP address into your web browser). Navigate to the port forwarding section.
- Forward Ports: Create a port forwarding rule for TCP port 5900 to the static IP address of your Raspberry Pi. The router will forward incoming traffic to port 5900 on your public IP address to port 5900 on your Pi.
- Connect with a VNC Client: Use a VNC client on your local computer and connect to your public IP address, followed by a colon and the VNC port (5900). For example, `your_public_ip:5900`.
Note: you should never use plain vnc over the internet.
Additional Tips for Secure Remote Access
Regardless of the method you choose, consider the following security best practices:
- Use Strong Passwords: Always use strong, unique passwords for your VNC and SSH accounts. Avoid easily guessable passwords.
- Enable Two-Factor Authentication (2FA): If available, enable 2FA for your VNC account to add an extra layer of security.
- Keep Your Raspberry Pi Updated: Regularly update the Raspberry Pi's operating system and installed software to patch security vulnerabilities.
- Firewall: Configure the Raspberry Pi's firewall to restrict access to only the necessary ports.
- SSH Keys: When using SSH, use SSH keys instead of password authentication for enhanced security.
Troubleshooting Common Issues
Here are some common issues and solutions:
- Connection Refused: This usually indicates that the VNC server isn't running or is not listening on the expected port. Check that the VNC server is started and configured correctly. Verify if VNC is running by entering this command in terminal, `ps -aux | grep Xvnc`
- Cannot Connect to the Server: Double-check the IP address or hostname you are using to connect to the VNC server.
- Port Forwarding Issues: Verify that port forwarding is correctly configured in your router. Use a port checker tool to ensure the port is open.
- VPN Conflicts: If you are using a VPN, ensure it doesn't interfere with the VNC connection. You might need to create an exception in your VPN configuration.
These are common solutions, but remember to research specific error messages and consult online resources for detailed troubleshooting guidance.
Conclusion
Remote access to your Raspberry Pi can be a rewarding experience, opening up new possibilities and enhancing productivity. Whether you're managing a home automation project, troubleshooting a server, or simply accessing your desktop from afar, the ability to connect remotely is invaluable.
By following the outlined steps and considering the security best practices, you can set up a reliable and secure remote access solution. The cloud VNC method offers the easiest and most secure setup, while SSH tunneling offers more control and is recommended for those who prioritize security and flexibility. And while port forwarding still works, it should only be used with caution.
Embrace the convenience of remote access, and unlock the full potential of your Raspberry Pi!
Further Resources and References
Here are some resources for further reading and learning:
- RealVNC Documentation: Visit the official RealVNC website for detailed documentation, tutorials, and support.
- Raspberry Pi Documentation: The official Raspberry Pi website provides comprehensive documentation on the operating system, hardware, and software.
- Online Forums: Explore online forums and communities dedicated to Raspberry Pi and VNC for troubleshooting and community support.
By following these resources, you can further your knowledge and enhance your remote access setup.
Article Recommendations
- Bhad Bhabies Hottest Content Videos Leaks Mustsee
- Carly Jane Onlyfans Leak A Critical Look At Privacy Content Risks


Detail Author:
- Name : Emanuel Mraz DDS
- Username : paxton00
- Email : stephen41@barton.org
- Birthdate : 1989-02-19
- Address : 81025 Nellie Dale Suite 432 North Tressieburgh, IL 06670
- Phone : 1-615-836-2940
- Company : Kovacek-Dietrich
- Job : Entertainer and Performer
- Bio : Et fugit voluptatem eos omnis laborum enim. Consequuntur quam dolores dolores porro est qui vel odio. Et sed voluptate voluptas.
Socials
tiktok:
- url : https://tiktok.com/@nitzsche2005
- username : nitzsche2005
- bio : Perferendis commodi enim nihil hic.
- followers : 3164
- following : 2579
twitter:
- url : https://twitter.com/kailyn.nitzsche
- username : kailyn.nitzsche
- bio : Saepe id temporibus et aspernatur tempora. Repellendus sint laborum perferendis id similique quis. Repellendus veritatis consectetur impedit sit.
- followers : 4978
- following : 2284
