
Access Your Raspberry Pi Remotely: Behind A Firewall & More!
Ever found yourself yearning to tinker with your Raspberry Pi, only to be thwarted by the invisible walls of a firewall?
Navigating the complexities of remote access to your Raspberry Pi behind a firewall, while often perceived as a daunting challenge, is, in fact, a highly achievable endeavor with the right strategies and tools at your disposal.
The world of single-board computers has exploded in popularity, and the Raspberry Pi has become a ubiquitous presence for hobbyists, educators, and professionals alike. One of the key appeals of the Raspberry Pi lies in its ability to be accessed remotely, offering unparalleled flexibility and control. However, a significant hurdle often arises: the firewall. Firewalls are essential for network security, acting as gatekeepers to prevent unauthorized access. This poses a challenge for those seeking to remotely connect to their Raspberry Pi. The process can be especially complex if the Raspberry Pi is behind a corporate firewall that doesn't allow standard SSH or VNC connections.
- Unveiling Jessica Williams Katt Williams Daughter Life Career
- Josh Allen Sean Mcdermott Contracts Salaries Bills Future
Thankfully, there are several effective methods for overcoming this obstacle. Whether you're a seasoned tech enthusiast or a newcomer to the Raspberry Pi world, there are approaches tailored to your skill level and technical needs. This comprehensive guide will delve into the most practical and secure solutions for remotely accessing your Raspberry Pi, even when it's safely tucked behind a firewall or NAT router. By understanding these techniques, you'll be empowered to manage and control your Raspberry Pi from anywhere in the world, unlocking its full potential.
To copy a file named `myfile.txt` from your personal computer to a users home folder on your Raspberry Pi, run the following command from the directory containing `myfile.txt`. Replace the `` placeholder with the username you use to log in to your Raspberry Pi and the `` placeholder with your Raspberry Pis IP address:
This process can be slightly cumbersome for a newcomer, so we've compiled a guide to simplify the process.
- Ainsley Earhardt Sean Hannity Wedding Details Secrets Revealed
- Antonio Cupo Dorothy Wang What You Need To Know Discover Now
One excellent use for this setup is to install a firewall on the Raspberry Pi itself to protect the hosted services or data residing on the device. The easiest way to configure the firewall on a Raspberry Pi is to use the tool "ufw" which stands for "Uncomplicated Firewall".
Here's a simple table to highlight the key steps and tools for remote access to a Raspberry Pi behind a firewall:
| Challenge | Solution | Tools/Techniques |
|---|---|---|
| Restricted Network Access | Bypass Firewall Restrictions | SSH Tunnels, VPN, Cloud-Based Services |
| Complex Configuration | Simplified Setup | Raspberry Pi Imager, UFW (Uncomplicated Firewall) |
| Security Concerns | Secure Remote Access | Strong Passwords, Key-Based Authentication, VPN Encryption |
| Port Forwarding Challenges | Alternative Methods | SSH Tunneling, Cloud Services |
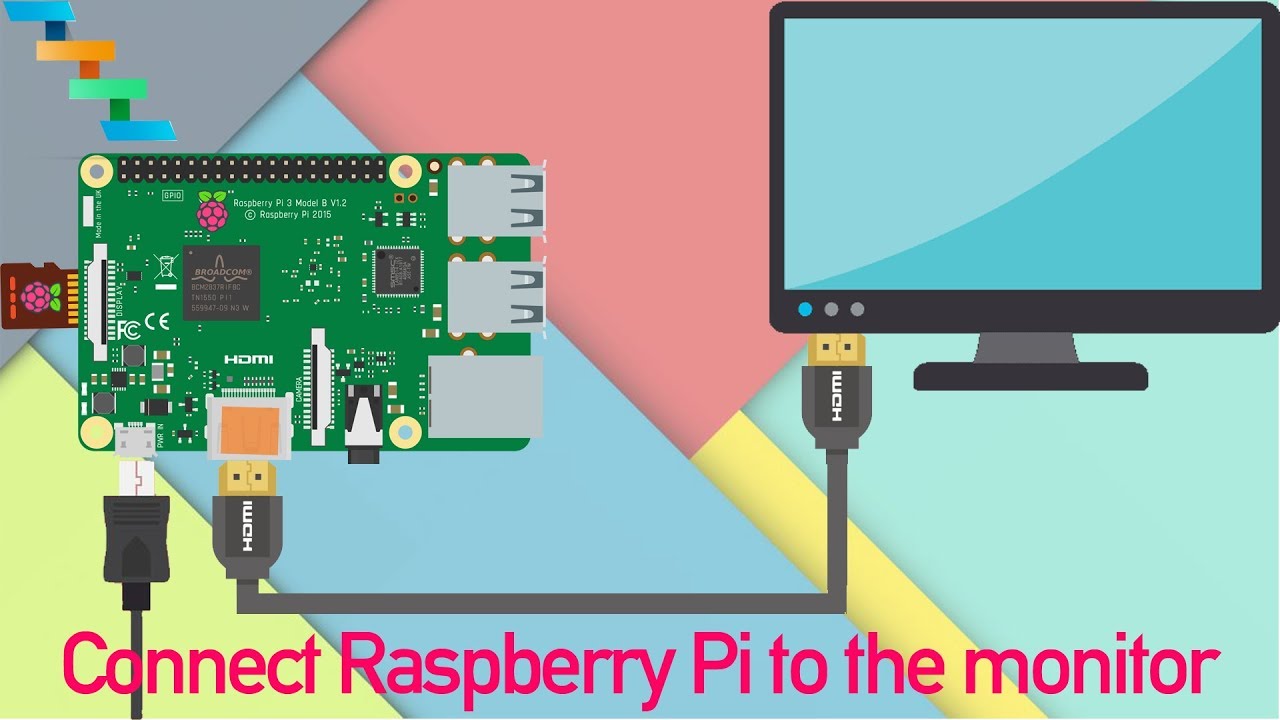
For those unfamiliar with the Raspberry Pi, it's a credit-card-sized computer capable of running various operating systems, including its flagship OS, Raspberry Pi OS. Its versatility makes it ideal for a multitude of projects, from home automation to media centers and even robotics.
The first step in unlocking the potential of remote access is ensuring your Raspberry Pi is properly set up. This starts with installing Raspberry Pi OS. The Raspberry Pi Imager is the quick and easy way to install Raspberry Pi OS and other operating systems to a microSD card, ready to use with your Raspberry Pi. Download and install Raspberry Pi Imager to a computer with an SD card reader, then put the SD card youll use with your Raspberry Pi into the reader. This simplifies the often-complex process of setting up an operating system.
The compatible string identifies this as being for `bcm2835`, which is the base architecture for the Raspberry Pi SoCs; If the overlay makes use of features of a Raspberry Pi 4 then `brcm,bcm2711` is the correct value to use, otherwise `brcm,bcm2835` can be used for all Raspberry Pi overlays. Then comes the first (and in this case only) fragment.
Now, let's delve into the core strategies for accessing your Raspberry Pi remotely. One of the most effective methods is through SSH tunneling. SSH (Secure Shell) provides a secure channel for remote access, and tunneling allows you to forward network traffic through this secure channel. This bypasses firewall restrictions by encapsulating the connection within an SSH session.
Another powerful option is to utilize a Virtual Private Network (VPN). A VPN creates an encrypted connection over the internet, effectively placing your Raspberry Pi on the same network as your accessing device. This makes it appear as if you are directly connected to your home network, granting you unfettered access. There are various VPN services available, and many routers support built-in VPN functionality, streamlining the setup process.
For those who prefer a simpler approach or are working within restrictive networks, cloud-based services like RealVNC's Cloud VNC Viewer or Raspberry Pi Connect offer user-friendly remote access solutions. These services typically use a secure connection, manage the connection complexities, and eliminate the need for port forwarding, a significant advantage for those behind firewalls. Remote connecting to a Raspberry Pi behind a firewall without Mac can seem daunting, but it's an achievable task with the right tools and techniques.
Changing the VPN/firewall configuration can be cumbersome if the Raspberry Pi is behind a corporate firewall which does not allow SSH or VNC connections. This quick guide will help you remotely manage and control a fleet of Raspberry Pi over the cloud easily! Just follow these 3 simple steps. By following these steps, you'll gain full control over your remote access setup without compromising security. To enable it, follow these steps: Insert the SD card into your Raspberry Pi and boot it up, Connect a monitor, keyboard, and mouse to the device, Navigate to interfacing options and select SSH, Choose yes to enable SSH and exit the configuration tool.
When implementing these techniques, security should always be the top priority. This includes using strong, unique passwords, enabling key-based authentication for SSH, and, of course, keeping your Raspberry Pi and its software up to date. If you plan to use a VPN, ensure the connection utilizes robust encryption protocols.
You can use the Apple TV remote as a touchpad to move the mouse cursor and click. To disconnect from your PC while streaming on iOS, swipe from the left edge of the screen. Raspberry Pi enthusiasts often find themselves needing to download or install software without the aid of a Mac. Fortunately, there are alternative methods for downloading and setting up SSH on a Raspberry Pi without relying on the Windows operating system. Many users face this challenge, especially when managing devices on restrictive networks.
Here's a step-by-step guide for setting up SSH, which is crucial for remote access, on your Raspberry Pi:
- Enable SSH: You can enable SSH through the Raspberry Pi configuration menu. Connect a monitor, keyboard, and mouse to your Raspberry Pi, then navigate to the interfacing options and select SSH. Choose "yes" to enable SSH and exit the configuration tool.
- Find Your Raspberry Pi's IP Address: You'll need the IP address of your Raspberry Pi to connect to it remotely. You can find this either by looking at your router's connected devices list or by using a command line tool on your Raspberry Pi itself, such as `ifconfig`.
- Connect via SSH: Using an SSH client on your computer (like PuTTY on Windows or the terminal on macOS or Linux), connect to your Raspberry Pi using its IP address and the default port 22. You'll be prompted for your username and password.
- Configure a Firewall (Optional but Recommended): To enhance security, consider setting up a firewall on your Raspberry Pi. The "ufw" tool is straightforward for this purpose.
Remote access to a Raspberry Pi behind a firewall without port forwarding can be a challenge, but, as demonstrated, it is achievable. By leveraging SSH tunneling, VPNs, or cloud services like Raspberry Pi Connect or RealVNC, you can establish a secure and efficient connection to your device, expanding its potential and giving you the freedom to monitor and control it from any location.
Article Recommendations
- Liza Soberano Enrique Gil News Updates You Need To Know
- Gwen Stefanis Height More What You Need To Know


Detail Author:
- Name : Nels Schinner III
- Username : lamar.kertzmann
- Email : darius62@ledner.com
- Birthdate : 1972-10-26
- Address : 597 Ebert Inlet Apt. 567 East Beverlyside, ND 04737
- Phone : 1-703-602-3902
- Company : Koelpin, Roberts and Kunze
- Job : Airline Pilot OR Copilot OR Flight Engineer
- Bio : Beatae qui aliquam consectetur aut. Nisi aliquam quae quia. Sunt corporis consectetur magni sapiente atque. Magnam quis laboriosam a laborum.
Socials
twitter:
- url : https://twitter.com/eldredconn
- username : eldredconn
- bio : Dolorum laboriosam et vel tempore recusandae fugiat. Reiciendis labore numquam molestias fugiat ex. Asperiores quisquam rerum quia incidunt.
- followers : 104
- following : 960
tiktok:
- url : https://tiktok.com/@eldred9948
- username : eldred9948
- bio : Autem maiores perferendis aliquid quibusdam non maiores quis.
- followers : 2045
- following : 1803
instagram:
- url : https://instagram.com/eldred_conn
- username : eldred_conn
- bio : Aspernatur accusantium quis consequatur. Voluptatum laborum doloribus qui earum sint doloribus ut.
- followers : 5699
- following : 2884
linkedin:
- url : https://linkedin.com/in/eldred_dev
- username : eldred_dev
- bio : Id temporibus animi a ut sapiente quis.
- followers : 1169
- following : 1326
facebook:
- url : https://facebook.com/conne
- username : conne
- bio : Quia molestias qui necessitatibus at expedita non maxime reprehenderit.
- followers : 5558
- following : 1800
